building a farmer's friend hoop house
We added our first walk-in caterpillar tunnel this season, and it has already proven its worth several times over.
The 14ft x 100ft Farmer’s Friend kit was built over dahlia beds and has successfully protected those plants from frosts over a month past the “frosting” of the field grown dahlias. We adapted the kit to better suit our wind and snow loads (both are extreme). First, I shortened the length of the kit from 100 feet to about 85 feet to better manage the weight of the snow. Due to a layer of rocks and boulders about 2 feet down that prevented some of the rebar from anchoring well, we also sunk some (about 4) of the hoop posts into 16-inch sonotubes (cement filled tubes) that were placed into holes we dug at the locations of those difficult posts.
I purchased the following accessories from Farmer’s Friend to add on to the kit: wind braces, a center purlin reinforcement, the height extension poles, and wiggle wire/wiggle wire tracks. At this point, we (me and my seasonal farming assistant) passed off the project to a local handyman to complete.
Our handyman helped us install the plastic and wood endwalls with large doors. The end walls were built on studs attached to the frame with brackets like these (pictured below). None of the lumber you see in the photo comes with the kit. The standard “endwell” with the kit makes use of the cone-shaped tie down method. In that case, you enter the tunnel by lifting an endwall. If you can afford it, the doors make tunnel use SO MUCH EASIER. We use 2x2in lumber to anchor the plastic on either side of the tunnels, too.
Endwall stud brackets for greenhouses
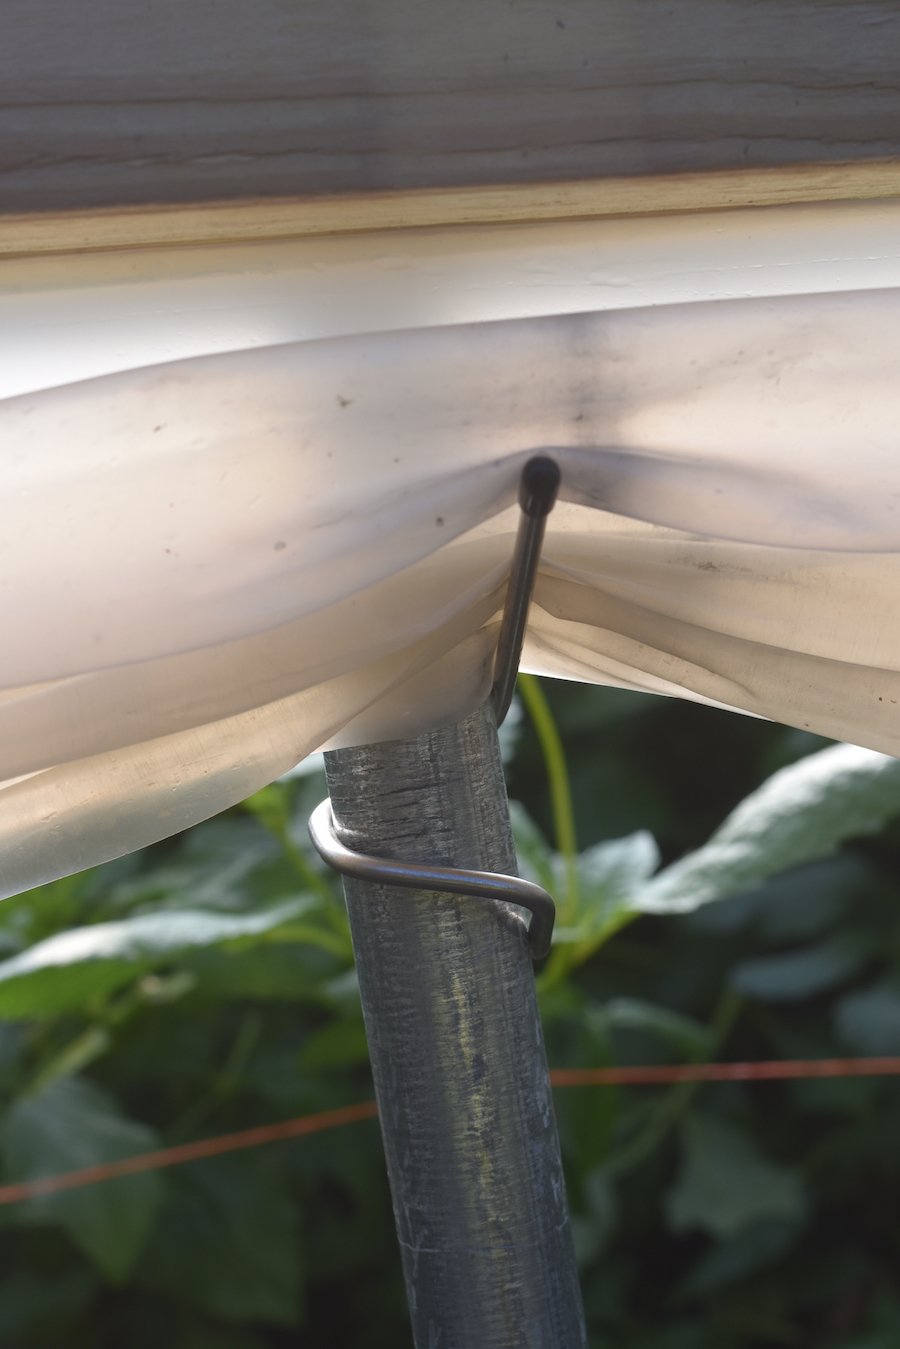
Sidewall lumber for anchoring plastic and Farmer’s Friend lifting hook
I’ve also since ordered roll up devices for the side walls, but we haven’t installed them yet. I’ll be sure to let you know what we learn in the process. I’ve found that the complimentary side wall-lifting hooks (see image below) from Farmer’s Friend can’t really hold up to our regular use. They seem to get stretched by strong winds and then they slide down the posts. They also drop the little protective plastic end caps intended to prevent puncturing of the plastic or injury to you— and good luck finding them when that happens. But, the hooks have been OK to work with temporarily.
My only other wish for these kits is that Farmer’s Friend will start to offer gothic-peaked hoops for us snow country folk. I decided to try their tunnels after hearing that farmers have used the them successfully in heavy snow conditions, but a peaked roof sure would make my life easier.
For now, I’ll use what I’ve learned from assembling the kit to build my own peaked tunnels with a Johnny’s Selected Seeds gothic high tunnel hoop bender. (Or I might just fold and buy more Farmers’ Friend kits - you really can’t beat the price and the fact that all the parts come to you on a pallet.)
Assembling a Farmer’s Friend kit? Here are some things I with I’d known ahead of time
the “self-driving” screws are difficult to drive into the hoops. We found that it was best to do any drilling/screwing on the ground. If you are installing a center purlin reinforcement bar, the wind bracing kit, or wiggle wire tracks, be sure to pre-drill holes so that you don’t have to try to get those screws into your structure upside down or while balanced on a ladder.
If you are adding stud bracing brackets - do that BEFORE you put the wiggle wire tracks on your end wall hoops. If you are installing a wind bracing kit - also do that BEFORE you put on a wiggle wire track.
If you are a flower grower who is used to 4ft beds, you might want to consider different spacing. I changed up my dahlia planting plan to fit the tunnel. In the end, the width of the tunnel looks like this: 1ft unused along the wall, 2.5ft bed, 2ft aisle, 3ft bed, 2ft aisle, 2.5ft bed, 1ft unused.
I’m sure I missed some helpful details, so if you have any questions, please let me know in the comments below, and I will get right back to you. I’m sure other people have the same thoughts— so really, don’t hesitate to reach out.
Best,


